Securing your static website hosted on AWS using CloudFront
After successfully creating hosting our personal website on Amazon Web Services as explained in my previous blogpost, we will now look into securing the traffic with SSL/TLS using AWS CloudFront.
Content
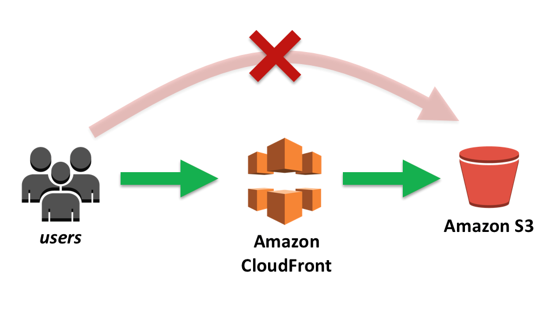
Architecture
1. Requesting a TLS/SSL certificate
Amazon Web Services simplifies the process of provision, manage, deploy and renew certificates through the AWS Certificate Manager.
Request a public certificate and add your domains (e.g. pietermoens.be and www.pietermoens.be). To enable DNS validation, you will be required to add one or more DNS records to your hosted zones on AWS Route 53. The record that you will be required to add is a CNAME. The name and value is given at the validation step in the AWS Certificate Manager.
If everything went correctly, you should see that the certificate has been issued and that the validation for all domains was successful.
2. Creating a AWS CloudFront distribution
To enable TLS/SSL support for your domain, you are required to create a distribution on AWS CloudFront. Go ahead and create a Web distribution. The most important settings are listed below:
- Origin Domain Name - Copy/paste your static website address from your S3 bucket (e.g. pietermoens.be.s3-website.eu-west-3.amazonaws.com) ! Note: Don't select the S3 bucket from the dropdown menu as it only contains the API endpoints
- Viewer Protocol Policy - Redirect HTTP to HTTPS
- Allowed HTTP Methods - Either use "GET, HEAD" if your website is completely static and does not require HTTP PUT, POST, PATCH or DELETE methods.
- Alternate Domain Names (CNAMES) - Add the correct CNAME corresponding to your selected S3 Bucket (e.g. pietermoens.be or www.pietermoens.be)
- SSL Certificate - Select your newly issued custom SSL Certificate
Once you're ready, the distribution will be deployed and enabled.
3. Updating DNS records
To correctly route all traffic on your domain names to the newly created CloudFront distributions, you have to update the DNS records created in the previous tutorial. This is once again done through your hosted zones on AWS Route 53.
Instead of selecting your S3 bucket as alias target, you will now set this to your CloudFront distributions:
- Name - pietermoens.be
- Type - A - IPv4 address
- Alias - Yes
- Alias Target - Select alias to your CloudFront distribution
Optionally repeat this process for your sub domains (e.g. www.pietermoens.be)
After these steps, you should be able to access your website through HTTPS!